
How to finish wood with polyurethane: The Ultimate Guide to Finishing Wood with Polyurethane
Finishing of wood is one of those arts which change a chunk of crude wood into something polished, resilient, and visual in all ways accomplished. Of many finishes present in the market for wood, polyurethane has outstanding versatility, resiliency, and facility. Whether you’re a professional in woodwork or just a DIY enthusiast, it will surely pay to learn how you can polyurethane-protect your woods in taking such projects to professional levels. This guide takes you through detailed explanations of important concepts of preparing for and applying and maintaining polyurethane wood finishes.
Take Your Woodworking to the Next Level! Build 16,000 Woodworking Projects With Step-By-Step Plans
What is Polyurethane Wood Finish?
Polyurethane is an artificial resin applied on the wood surface for protection. It provides a hard and durable layer in which the wood is protected against scratches, wear, and tear due to moisture and UV exposure but still looks very attractive. Polyurethane comes in oil-based and water-based types for various finishings, from matte to high gloss.
Advantages of Polyurethane Wood Finish
- Strength: Polyurethane forms a hardened barrier against bumps and knocks day in and day out, which chip wood.
- Water Resistance: It prevents water from soaking into the wood; it prevents its deformation and decaying, respectively.
- Aesthetic Value: Polyurethane brings out the grain and color of the wood, and its end product is always polished and professional-looking.
- Low Maintenance: Polyurethane requires very little maintenance after application; it is ideal for floors and furniture where traffic is high.
Types of Polyurethane Finishes
1. Oil-Based Polyurethane
The solvent-based polyurethane is also warmer in amber and very resistant, making it well applied for use on the floors and other highly used furniture parts. It, however, has a longer drying time and highly smelly during applications.
2. Water-Based Polyurethane
Water-based polyurethane dries faster, has little to no odor, and doesn’t darken the wood as much. Best applied to lighter woods and when projects must be finished fast. Eco-friendlier, it requires more coats for optimum protection.
3. Gel Polyurethane
Gel polyurethane is thicker and more controllable. Best to use on vertical surfaces or detailed work. Minimal drips and runs, hence perfect for beginners.
Build 16,000 Woodworking Projects With Step-By-Step Plans
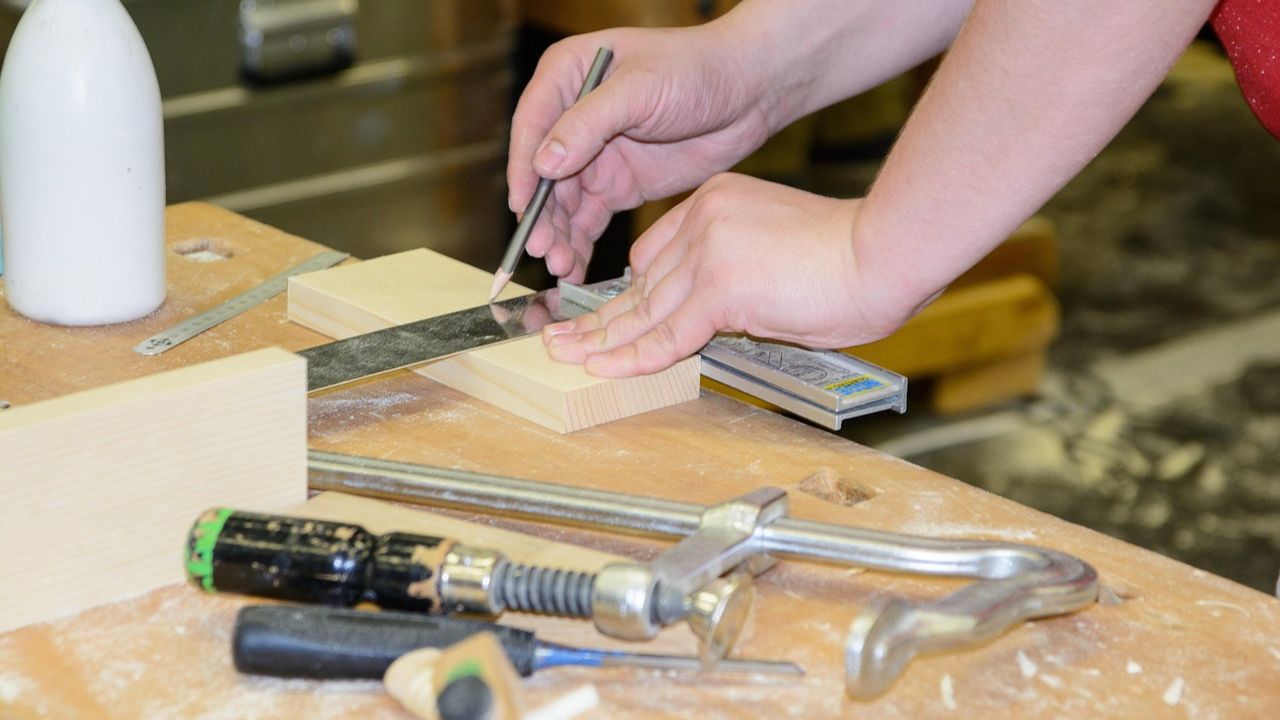
Preparing the Wood Surface
Good preparation is always the way to a perfect polyurethane finish. Here is how to go about preparing your wood for application:
1. Cleaning of the Surface
The surface is cleaned of dust, dirt, and other debris by use of a tack cloth or a damp, lint-free cloth. If oily, the surface needs to be wiped down with mineral spirits to provide proper adhesion.
2. Sanding the Wood
Then, progressively sand the wood with higher grits of sandpaper: 120-grit, 220-grit. Always remember to sand along the direction of the grain and never across it to avoid scratches.
3. Filling Grain Pores (Optional)
If the wood is of open grain, such as oak or mahogany, then the use of a wood grain filler will be worth the while for a finer glass-like finish. This step is optional but highly recommended if the desired outcome should be a glass-like finish.
4. Sand down
Once sanded, all the dust particles are taken out by using the vacuum or a tack cloth. Any of the remaining dust in the pores will affect the finish; hence, the cleaning to be done must be perfect.
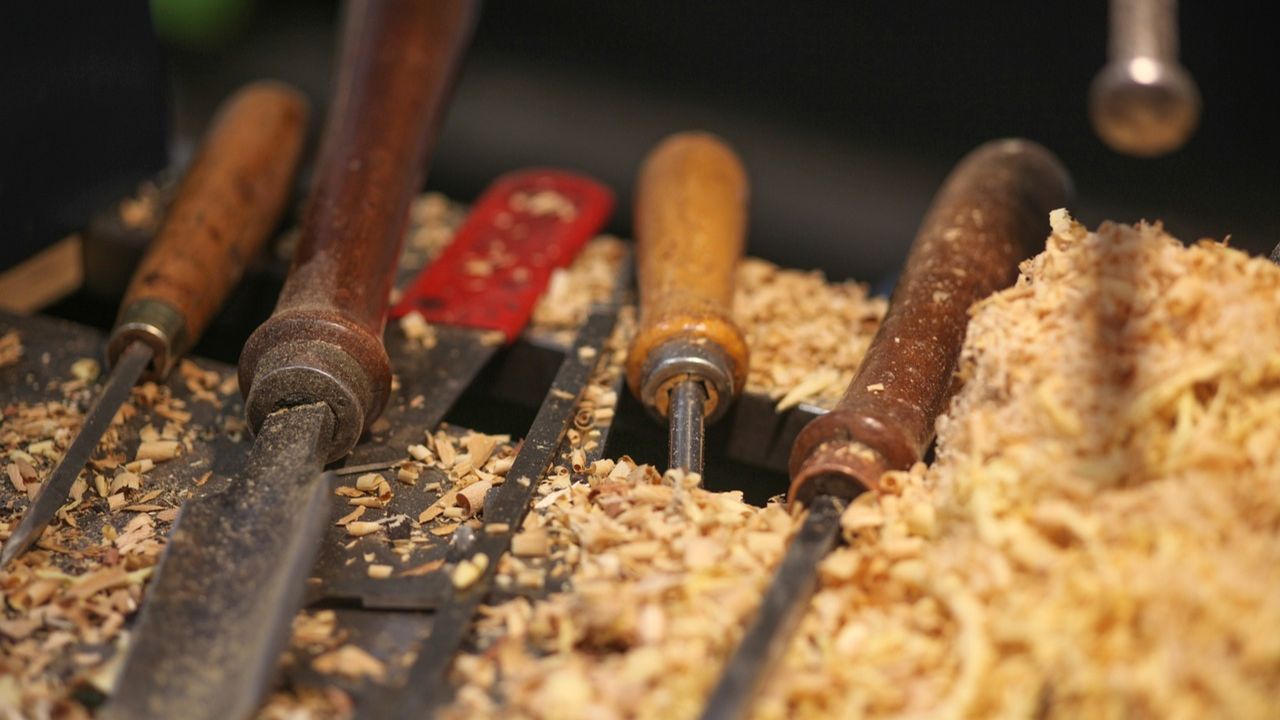
Materials/Tools Required
Prepare the following before starting:
- Polyurethane-oil-based or water-based
- Good-quality brushes-natural bristle for oil-based, synthetic for water-based
- Fine-grit sandpaper-220-320 grit
- Tack cloth or lint-free cloth
- Mineral spirits or water-for thinning
- Safety gear-gloves, mask, and safety glasses
Application Steps in Detail
1. Stir the Polyurethane
Stir the polyurethane lightly to combine the solids but not shake the can because this would introduce bubbles into the finish.
2. First Coat Application
Dip a good-quality brush and apply thin, even polyurethane in the direction of the wood grain by using light strokes. Avoid overloading the brush because it may result in drips and bubbles.
3. Allow Drying
Allow the first coat to dry completely. Most water-based polyurethane dries within 4-6 hours; oil-based poly takes 24 hours.
4. Sand Between Coats
Dried coat-lightly sand with 320-grit sandpaper to smoothen out imperfections for better adhesion with the next coat. Remove all dust before applying the next layer.
5. Apply Additional Coats
Repeat 2-4 more depending on added protection desired. For varnishing of floors for high-traffic use, 3 to 4 coats are recommended.
6. Final Sanding and Buffing
After the final coat, lightly sand the surface for a smooth finish with 400-600 grit sandpaper. For that high-gloss look, buff the surface with some automotive paste wax.
Take Your Woodworking to the Next Level! Build 16,000 Woodworking Projects With Step-By-Step Plans
Tips for a Flawless Finish
- Work in a Well-Ventilated Area: Proper ventilation prevents overexposure to fumes, and allows it to dry even more evenly.
- Use Thin Coats: Thin coats dry more quickly and set less bubbles and drips.
- Avoid Over-Brushing: Overworking the finish will tend to introduce air bubbles and brush marks into it.
- Look for blemishes: With the surface still wet check the area in side light for missed spots or air bubbles.
Caring for Your Polyurethane Finish
Following are a few tips for keeping your polyurethane-coated wood beautiful:
1. Regular Cleaning
Dust with a clean cloth or microfiber daster. Using a slightly moistened cloth with a little mild soap.
2. Avoid exposing to Water
Wipe off spills immediately to prevent water damage; to protect the finish, use coasters or placemats.
3. Protection from Sunlight
The fading of the finish or its yellowing over time could be caused by direct sunlight. Curtains and blinds will keep the wood from direct UV light.
4. Periodic Inspections
Inspect the finish for scratches or wear. If minor imperfections appear touch them up with fresh coats of polyurethane to maintain its protective layer.
Some Common Mistakes to Avoid
- Insufficient Surface Preparation: Probably poor surface preparation can easily result in inappropriate adhesion of the finish and therefore a poor quality finish.
- Application of Thick Coats: Thick coats take long to dry and are more prone to formation of drip and bubble.
- Not Sanding between Coats: It may result in texture with a coarse grain and unsatisfactory adhesion to the wood substrate.
- Dusty Environments: The particles may fall on the wet finish and can damage the smoothness of the finish.
Build 16,000 Woodworking Projects With Step-By-Step Plans
Conclusion
Finishing a wood with polyurethane is rather a satisfying process; it increases both the beauty and toughness of your projects. However, with the right selection of polyurethane types, coupled with good surface preparation and careful application, professional results are achievable over time. From furniture pieces to cabinetry, polyurethane provides protection or aesthetic appeal that a certain project would require.
For more tips and quality woodworking tools, check this resource.
Frequently Asked Questions
1. How many coats of polyurethane should I apply?
Apply 2-4 for maximum protection. Floors and other high-traffic areas may need 3-4 coats.
2. Can I put polyurethane over an existing finish?
Yes, you can, but lightly sand the surface so that it adheres well.
3. How long does polyurethane take to cure?
Generally, the curing of polyurethane takes 24-48 hours, although complete curing can take as long as 30 days.
4. How does oil-based compare to water-based polyurethane?
Oil-based polyurethane is warm amber in hue and more resistant, whereas water-based polyurethane dries faster and keeps the natural color of the wood.
5. How to fix bubbles in polyurethane?
Lightly sand with fine-grit sandpaper and then apply a thin layer of polyurethane to be able to smooth it out.
Take Your Woodworking to the Next Level! Build 16,000 Woodworking Projects With Step-By-Step Plans
Can You Make Money Selling Woodworking Projects?
What Woodworking Project is Most Profitable?
How to Make Money Fast with Woodworking?
What is the Highest Paid Woodworker?
Is Woodworking a Good Business to Start
What is the Best Platform to Sell Woodworking Projects?
How to Sell Wooden Items Online?
Woodworking Related Topics And Tags: Polyurethane Wood Finish, Wood Finishing Techniques, DIY Wood Projects, Woodworking Tips, How to Apply Polyurethane, Wood Surface Preparation, Oil-Based vs Water-Based Polyurethane, Wood Finishing Tools, Protective Wood Coatings, Wood Maintenance Tips