
How to build a wooden porch swing? The Ultimate Guide for Beginners and Experts
Though one of the more rewarding projects, a wood porch swing does call for some amount of craftsmanship and precludes spending lazy afternoons outdoors. Whether you are an expert or a beginner at using your woodworking skills, this will be a step-by-step guide on making a fantastic, beautiful, and functional porch swing. We are going to speak about everything, starting from choosing the material to safe and nice installation.
There will also be a wooden porch swing which will not only beautify the view of your house but also comfort indoors. The place is excellent for resting, reading, or spending some quality time with dear ones. In case one designs for himself then surely he would prefer it according to his taste and thus would be assured regarding quality as he sure will stand its test of time.
Take Your Woodworking to the Next Level! Build 16,000 Woodworking Projects With Step-By-Step Plans
2. Design Your Porch Swing
Pre-construction
- Design and Size: The design dictates the kind of swing one is going to use and space it’s going to occupy in your area. A typical porch swing measures about 4-5 feet and accommodates two to three persons.
- Location: Find a suitable location on your porch or in your yard. It needs to be such that the swing will not knock into the walls or railing while it swings. There should be a minimum of 2 feet of clearance behind it and 1 foot on each side.
- Weight Capacity: A swing which is anticipated to hold a lot of users must at least have a support of about 500 pounds.
3. Materials and Equipment Needed

Materials:
- Lumber: You could use the weather-resistant type made of cedar, redwood, or teak. For a regular 4-feet long, you would need:
- 5 pieces of 2×4 lumbers, 8 feet
- 2 pieces of 1×6 lumbers, 8 feet
- 1 piece of 1×6 lumber, 4 feet
- 1 piece of 1×4 lumber, 8 feet long
Hardware:
- 2 ½-inch exterior screws
- 1 ½-inch exterior screws
- Wood glue
- 120- and 150-grit sandpaper
- Exterior-grade stain or paint
- Hardware required: 4 eye bolts with nuts and washers, 2 heavy-duty screw eyes, 4 quick links, approximately 20 feet of ¼-inch zinc-plated chain
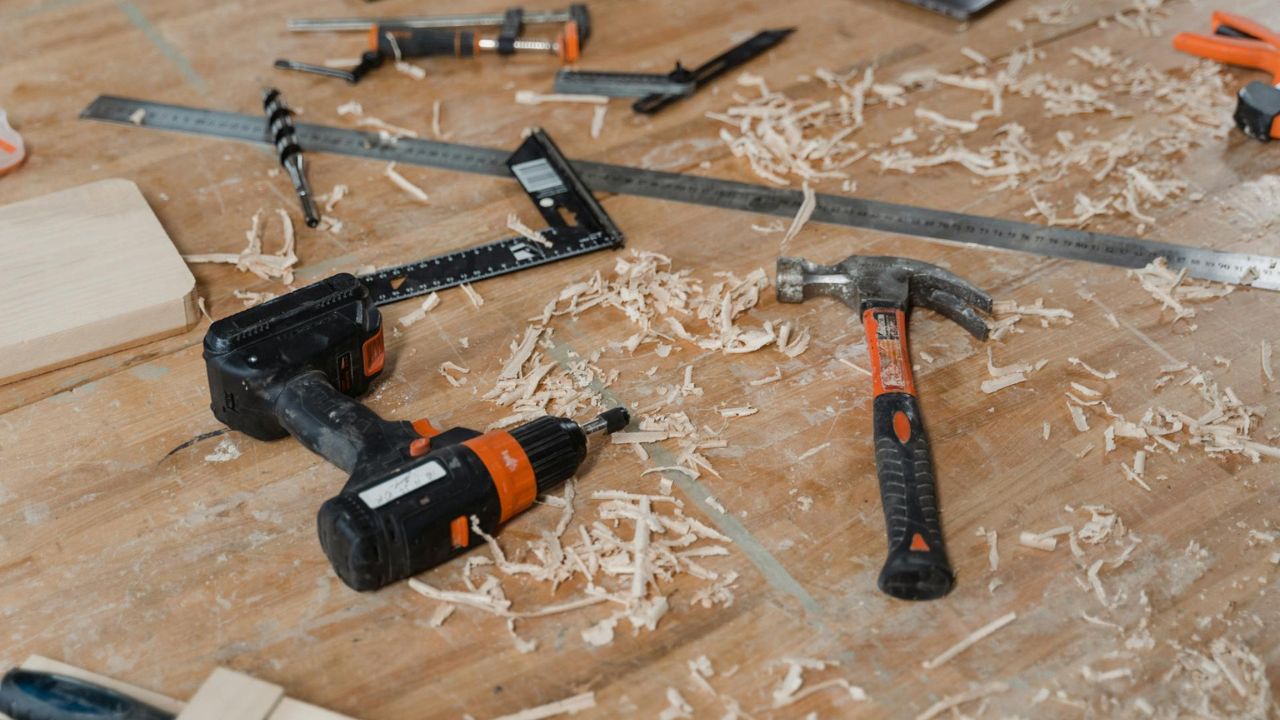
Tools:
- Measuring tape
- Carpenter’s square
- Pencil
- Circular saw or miter saw
- Drill with bits
- Screwdriver
- Orbital sander
- Clamps
- Safety glasses and hearing protection
Build 16,000 Woodworking Projects With Step-By-Step Plans
4. Cut and Prepare the Wood
Cut your lumber to the following size first:
Seat Frame:
- 2 pieces of 2×4 at 48 inches long- front and back
- 4 pieces of 2×4 at 18 inches long- supports
Backrest Frame:
- 2 pieces of 2×4 at 48 inches-long each
- 4 pieces of 2×4 at 19 ¾ inches-long each
Armrests:
- 2 pieces of 2×4 at 22 ½ inches-long each
Seat Slats:
- 5 pieces of 1×6 at 48 inches-long each
Backrest Slats:
- 5 pieces of 1×6 at 48 inches-long each
Armrest Supports:
- 2 pieces of 2×4 at 11 ¼ inches-long each
Diagonal Braces:
- 2 pieces of 2×4 cut to fit – about 11 inches
After the cuts, take all of the pieces over to 120-grit sandpaper to smooth out any rough edges in preparation for assembly.
Take Your Woodworking to the Next Level! Build 16,000 Woodworking Projects With Step-By-Step Plans
5. Assemble the Frame
Seat Frame:
- Lay the 48-inch pieces parallel to one another.
- Put the 18-inch supports between them—one on either end and two equally spaced in the middle.
- Glue the ends of the supports together using wood glue, then attach using 2 ½-inch screws through the front and back pieces.
Backrest Frame:
- Attach the 48″ pieces parallel to each other.
- Place the 19 ¾” supports between them, one at each end and two spaced equally apart.
- Assemble as with the seat frame.
6. Make Seat and Backrest
Seat:
- Rip the seat slats to cross the seat frame, beginning in the front.
- Leave about ¼ inch gap between every for drainage.
- Screw every down with 1 ½-inch screws into supports below.
Backrest:
- Attach the backrest frame to the seat frame at a comfortable angle; 15-20 degrees is common.
- Screw through the bottom of the backrest frame into the seat frame.
- Attach backrest slats the same as the seat slats with equal spacing.
16,000 Woodworking Projects With Step-By-Step Plans
7. Attach the Armrests
- Attach the 11 ¼” armrest supports vertically to the front corners of the seat frame.
- Place the 22 ½” armrests on top, overhanging both the front and back a little.
- Attach the diagonal braces across the armrest supports and into the backrest frame for added support.
8. Sanding and Finishing
- Sand the assembled swing with 150-grit sandpaper. Dust it with a tack cloth.
- Apply an exterior-grade stain or paint to protect it from elements. Let it dry as recommended between coats.
9. Hang the Swing
Install Support Beams: Let your porch be made of beams which can hold the weight of the swing. If not, provide additional support to the swing.
Screw Eyes: Screw these heavy-duty screw eyes into the support beams—making pilot holes first—spaced to match the width of the swing.
Chains: Cut two pieces of chain at about 7 feet each and two smaller pieces at 18 links each.
Attach chains to the eye bolts in the armrests of the swing by quick links.
Hanging the Swing: Attach these, via the long chains, to the screw eyes in the support beam—attaching these to the short chains on the swing. Adjust to achieve a seat height of 17-19 inches off the ground.
10. Care and Maintenance
- Periodic Inspections: The swing and hardware should be periodically inspected for signs of wear or damage.
- Cleaning: Clean swing with mild soap and water as needed.
- Refinishing: Restain or repaint every couple of years to protect it and maintain the good look.
11. Conclusion
Amongst the rewarding projects to add to the outdoors are wood porch swings. You will be in the position to make a comfortable qualitative material with some careful planning in paying attention to the details that beautify several years.
Take Your Woodworking to the Next Level! Build 16,000 Woodworking Projects With Step-By-Step Plans
Can You Make Money Selling Woodworking Projects?
What Woodworking Project is Most Profitable?
How to Make Money Fast with Woodworking?
What is the Highest Paid Woodworker?
Is Woodworking a Good Business to Start
What is the Best Platform to Sell Woodworking Projects?
How to Sell Wooden Items Online?
Woodworking Related Topics And Tags: woodworking, DIY, porch swing, outdoor furniture, woodworking plans, home improvement, backyard projects, porch swing, DIY furniture, woodworking project, home DIY, woodworking tutorial, outdoor swing, DIY porch swing, wood porch swing, DIY outdoor projects, woodworking tips, backyard furniture, porch ideas, DIY plans, woodworking craftsmanship