
How to build a wooden storage box?A Step-by-Step DIY Guide
They are timeless, versatile, and usefully practical improvements one can do in the home. Be it space organization, a personally customized present, or just uniquely rewarding DIY-a wooden storage box is ideal to construct. The post will detail what you may wish to know from planning and materials, through to the step-by-step instructions, including creative design ideas.
Take Your Woodworking to the Next Level! Build 16,000 Woodworking Projects With Step-By-Step Plans
Why Make Your Wooden Storage Box?
1. Customization
In making the wooden storage box, all the controls over the size, design, and functionality are under the hands of an individual. You could make anything from a small jewelry box to a big crate to keep things outside which suits your needs perfectly.
2. Economical
That’s a hell of a lot more reasonable than buying one, especially if you make use of scraps or reclaimed wood. And you won’t have to pay for shipping since you’ll be building it yourself.
3. Durability
You can make your storage box last for years by choosing the right materials and construction techniques. Unlike those found commercially, which usually are prepared without much care, your homemade box will be made to withstand day-to-day use.
4. Personal Satisfaction
There is, in particular, much satisfaction that comes from constructing something with your own hands. A wooden storage box is functional but also a testament to your creativity and craftsmanship.
Materials and Equipment You Will Need
Gather the following materials and equipment before you start:
Materials:
- Wooden boards (plywood, pine, oak, or reclaimed wood)
- Glue
- Screws or nails
- Hinges (for lidded boxes)
- Sandpaper of different grits
- Paint, stain, or varnish (at will)
- Handles or ornamental screws (optional)
Tools:
- Skill saw/table saw/circular saw or hand saw
- Drill or hammer
- Measuring tape
- Clamps
- Paintbrushes or rollers
Build 16,000 Woodworking Projects With Step-By-Step Plans
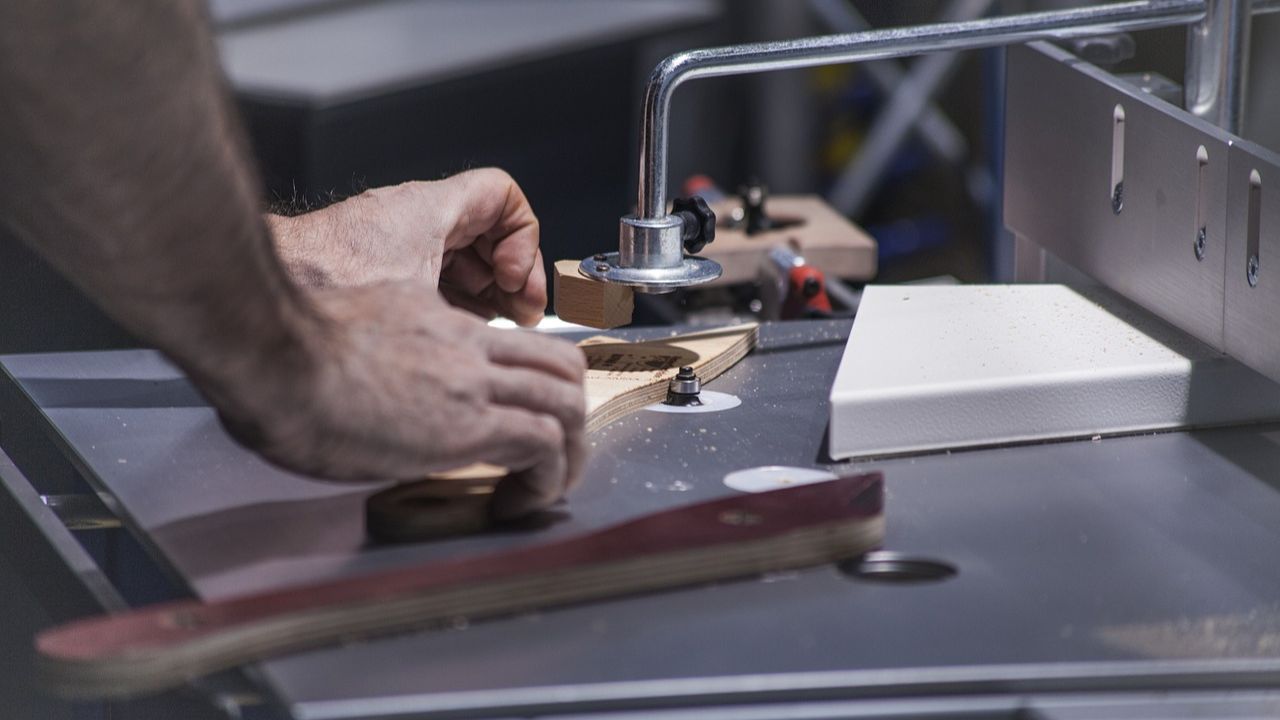
How to Make a Storage Box of Wood: How-to Instructions – Step by Step
Step 1: Measure
Start by deciding the size and purpose of your box. Measure the space where it will be placed and sketch a basic design. For example, if you’re building a box for toys, ensure it’s large enough to hold all the items.
Step 2: Cut the Wood
Using your saw, cut the wood into the following pieces:
- Two side panels
- A front and back panel
- A base
- A lid (optional)
Pro Tip: If you’re new to woodworking, consider having the wood cut at the store to ensure precision.
Step 3: Assemble the Frame
Apply wood glue to the edges of the side panels and attach them to the base. Use screws or nails to secure the pieces. Ensure the corners are square and the structure is sturdy.
Step 4: Attach the Lid (Optional)
If your box is designed to have a lid, attach hinges to one side. Open and close the lid several times to see that it operates smoothly. If your box has a sliding lid, cut grooves on the sides of the box that the lid will move in and out into.
Step 5: Sand and Finish
Smoothen all the box, removing the rough edges and splinters. Finishing by painting, staining, or varnishing the wood. Apply clear coat in case the finish needs to show the wood grain and appear as natural as possible.
Step 6: Adding the Finishing Touch
Handles add functionality to your box but at this point of completion may be combined with engravings or decorative inlays making the box customized-unique.
Creative Designs for Wooden Storage Boxes
1. Modernist No-Frills Box
A sleek, simple design with clean lines will fit any modern setting. Use light-colored wood and a matte finish to give it that modern touch.
2. Rustic Crate
Farmhouse demands the usage of reclaimed woods and leaving the surface unfinished. Attach rope handles to give it a complete rustic charm.
3. Velvet-Lined Jewelry Box
Inside lined with soft velvet to keep your delicate items intact. Compartments or dividers for jewelry, watches, and accessories add a personal touch.
4. Stackable Crates
A lot of identically-sized crates would be made to possibly stack vertically or horizontally. Great for storing books, toys, or pantry items.
5. Hidden Compartment Box
Give a location that is hidden where treasure would be kept. The tone would then take in function but a splash of mystery added into the design to create intrigue.
Take Your Woodworking to the Next Level! Build 16,000 Woodworking Projects With Step-By-Step Plans
Informative Guidelines for Constructing a Sturdy and Useful Box

1. Go for the Suitable Type of Wood
Softwoods such as pine are easier to work with while hardwoods like oak provide strength. For outside boxes, it is advisable first to treat the wood to make them stand the weather.
2. Lock the Corners
Use corner brackets or extra screws to secure the joints. In this way, the box can hold massive weights without disintegrating.
3. Sealing the Wood
A waterproof sealant is used on the wood to protect it from moisture and insects. Pretty important if it is storage boxes which are left outdoors.
4. Lid Test
If your box has a lid, then test the opening and closing a number of times for smoothness. Adjust the hinges or sliding mechanism accordingly.
5. Give Your Personal Touch
Give it a personal touch by painting a design on it or engraving your name and change or add ornamental hardware so that your box is distinct.
How to Care for Your Wood Storage Box
1. Regular Cleaning
Dust the box regularly and wipe away with a moistened cloth all dirt and grime that has settled. Strong chemicals should be avoided as it destroys the wood.
2. Apply Protective Coating
The finishing wears off over time. Put on some repainting, staining, or varnish as it will continuously make them look nice and strong.
3. Check for Damages
Loosening screw, box wear, and cracks etc. should be regularly checked. The damages immediately to be repaired to extend the life box.
Build 16,000 Woodworking Projects With Step-By-Step Plans
Conclusion
That’s a pretty rewarding project, joining practicality with creativity. The article will guide you through everything that has to be done for the making of a really beautiful and functional box, from the point of view of an expert woodworker who has been associated with this particular craft since day one, on materials to assembly to finishing touches-it’s an avenue for expertise and imagination on each step of the process.
Take Your Woodworking to the Next Level! Build 16,000 Woodworking Projects With Step-By-Step Plans
Can You Make Money Selling Woodworking Projects?
What Woodworking Project is Most Profitable?
How to Make Money Fast with Woodworking?
What is the Highest Paid Woodworker?
Is Woodworking a Good Business to Start
What is the Best Platform to Sell Woodworking Projects?
How to Sell Wooden Items Online?
Woodworking Related Topics And Tags: DIY wooden storage box, how to build a storage box, woodworking for beginners, DIY home organization, wooden box tutorial, DIY storage box, wooden box project, beginner woodworking, DIY home storage, custom storage solutions, build a wooden box, DIY woodworking project, custom storage box, woodworking tutorial, home organization ideas